What Lies Beneath
A new wrap technique to retain the look of vehicle badges and emblems.
WHAT DO YOU do with the automaker badges and emblems after completing a wrap? Re-install them and they may compete with a printed wrap design – plus the extra install time adds cost. Leave them off and the client may lose the cachet that accompanies desirable emblems. In addition, “Having markings of the weight class or trim level can be important to fleet managers when doing maintenance on vehicles,” said David Kearsley, owner of Gravity Graphics (Victor, ID).
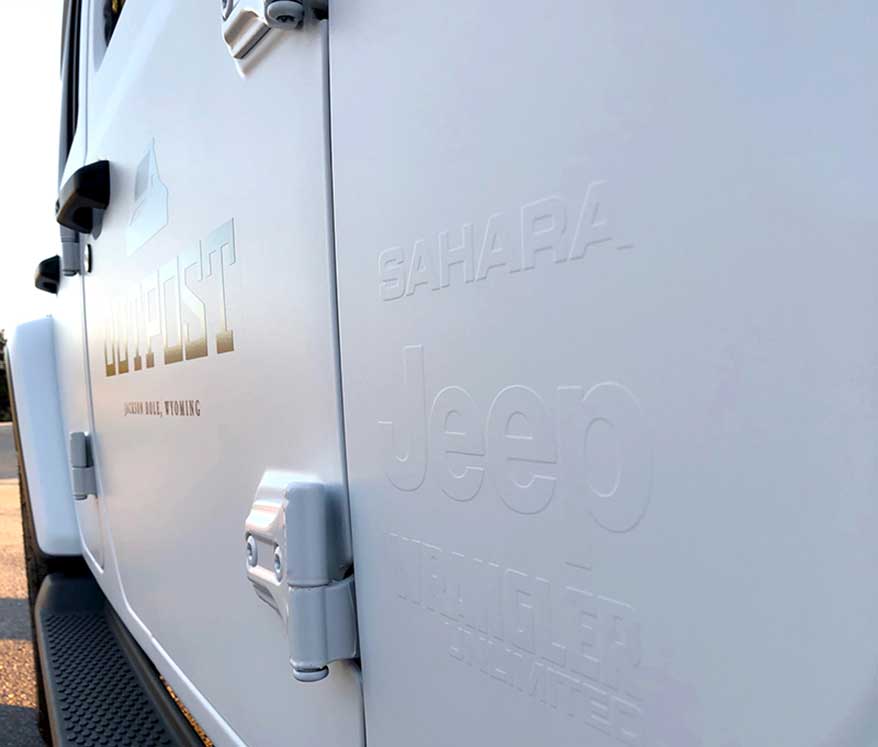
To address this dilemma, David recently developed a new and unique technique to provide the shape and dimensionality of an emblem or badge, and give his wraps an extra wow-factor when viewed up close. “Underlay embossing provides a subtle way to offer our wrap clients an alternative solution to [re-]installing the factory badges and emblems,” he said. “It’s a fun accent point that is visible up close, but from a 5- to 10-ft. distance away, they are difficult to see.”
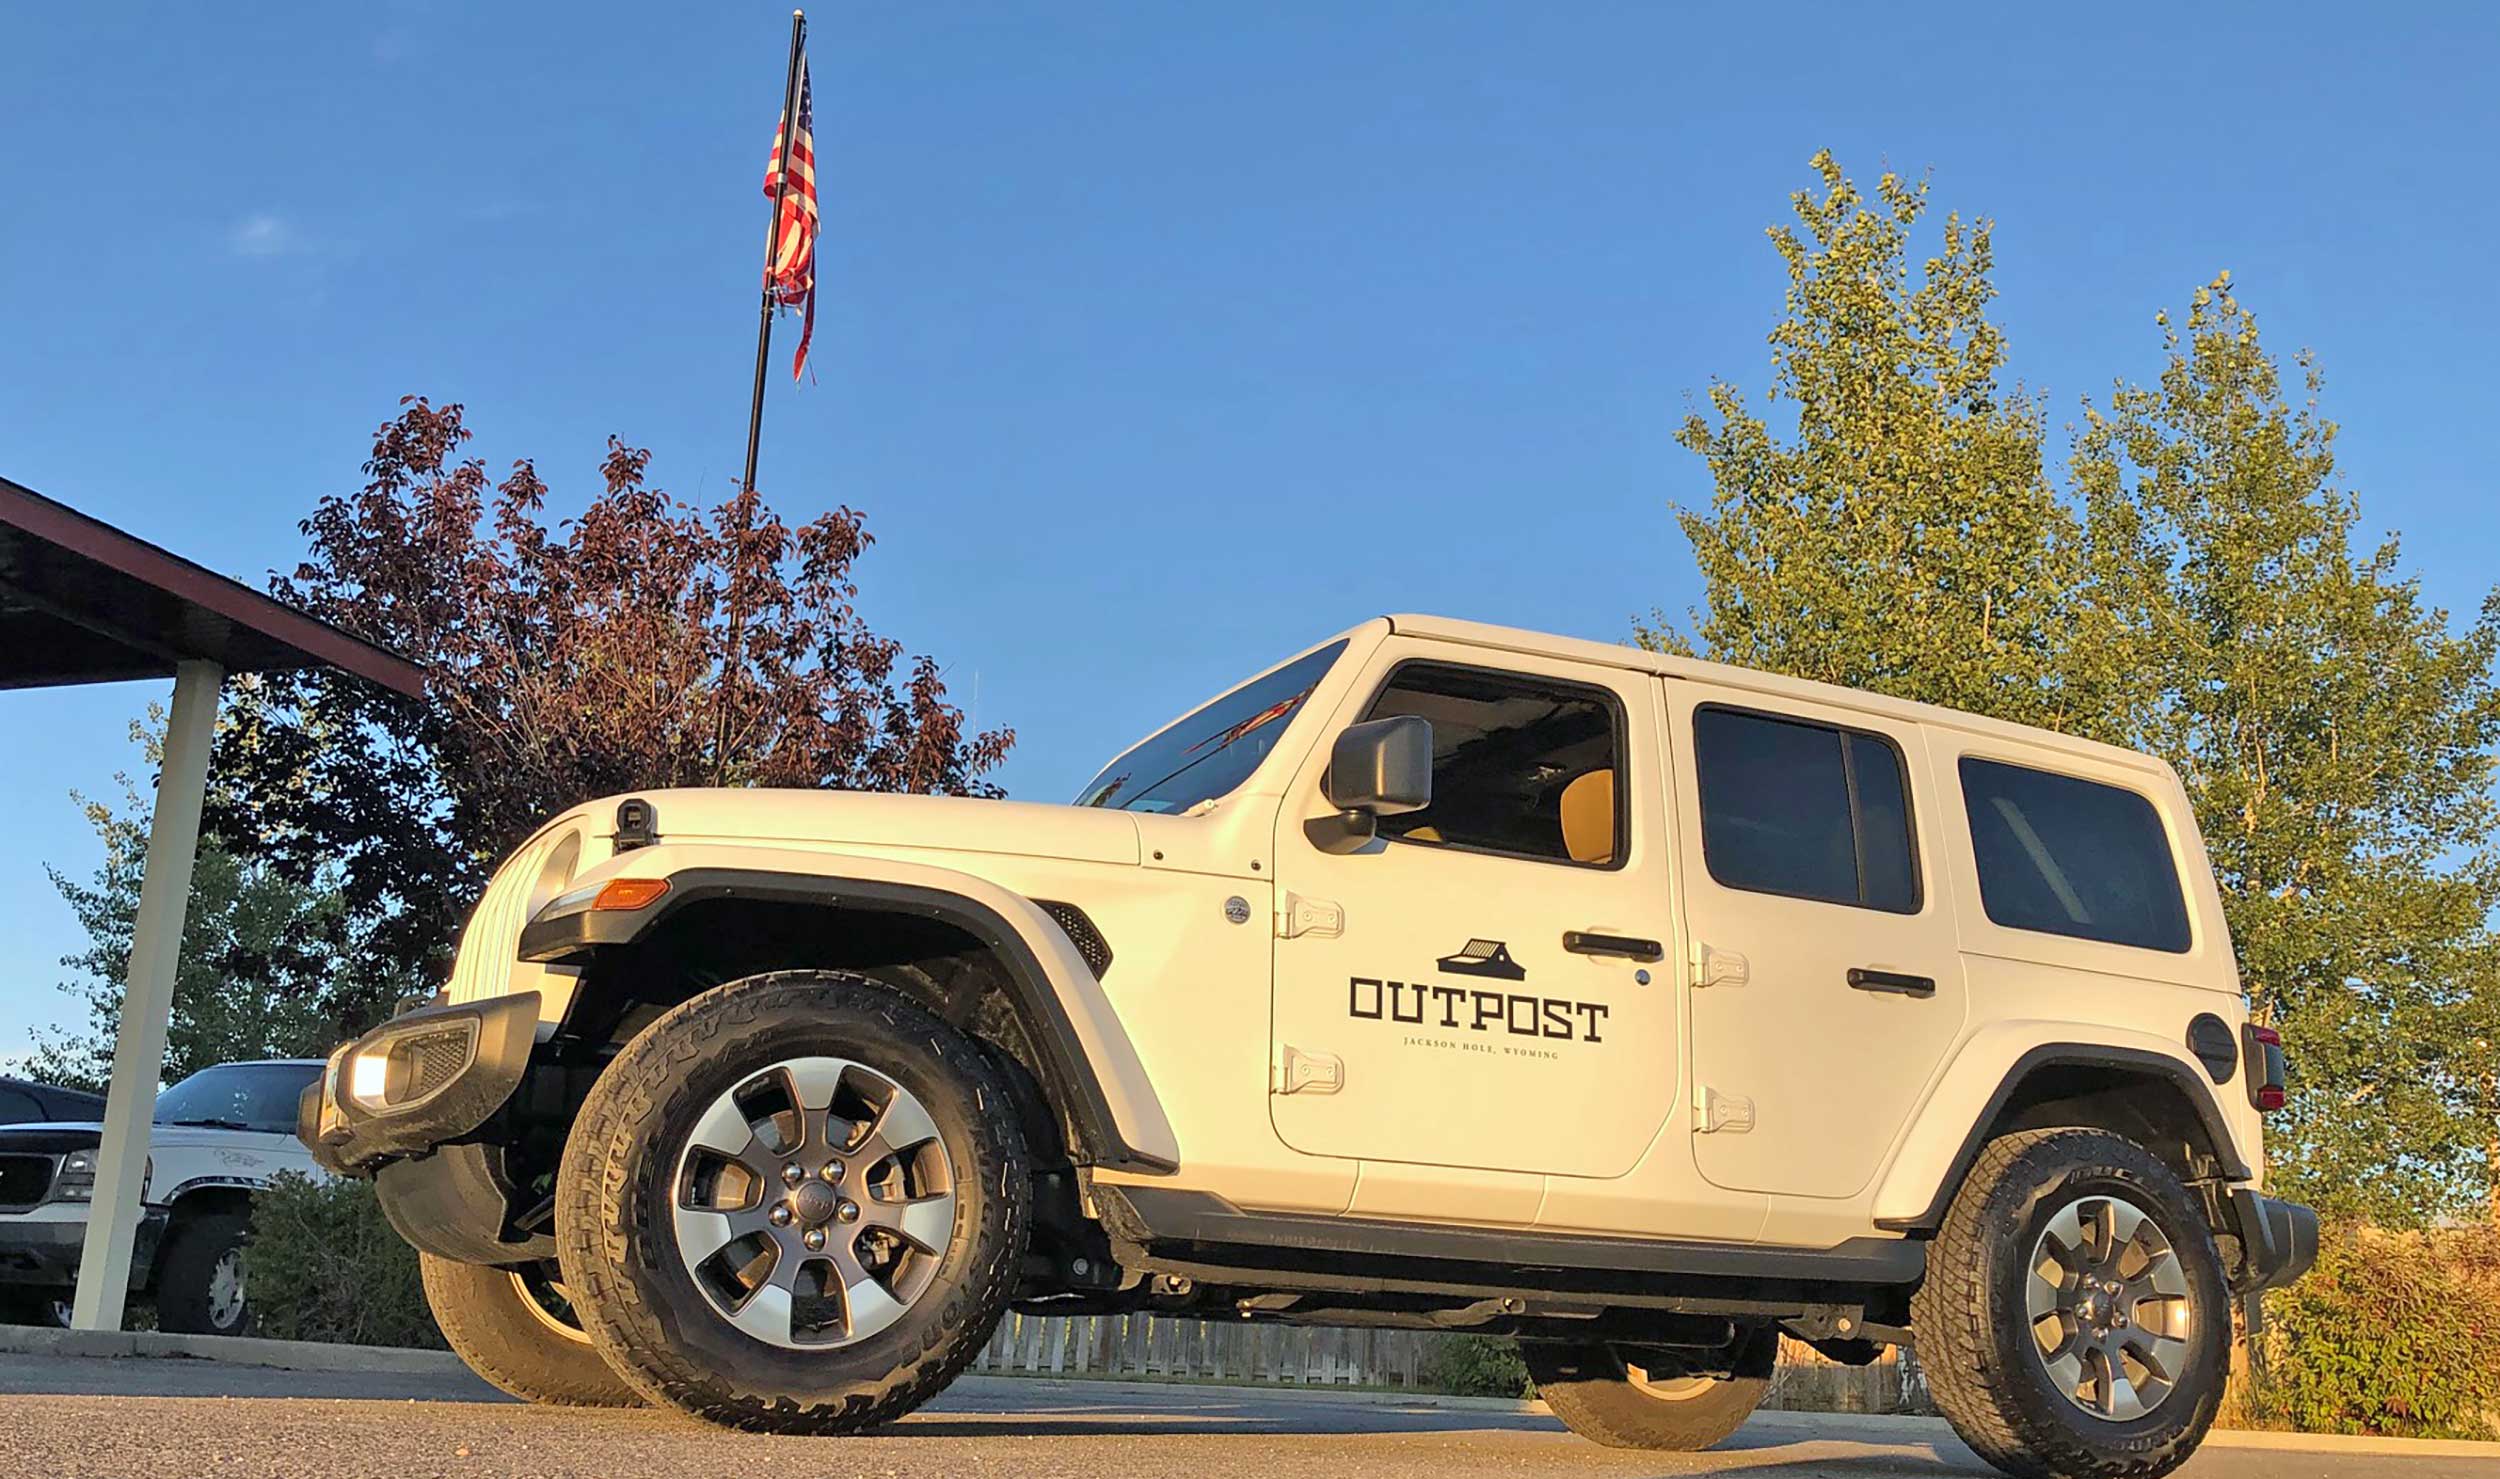
Gravity Graphics’ client’s Jeep with the underlay embossing installed.
A New Dimension
David demonstrated the technique on a Jeep Wrangler Unlimited model (with Sahara trim package option) belonging to client Outpost Vacation Rentals. “On this project and others, taking [photos] of the factory emblems and tracing them to a single-color vector format allows us to produce underlays that convert vehicle markings to subtle accents,” he said. The process is simple and fits into normal signshop operations of tracing and cutting vinyl:
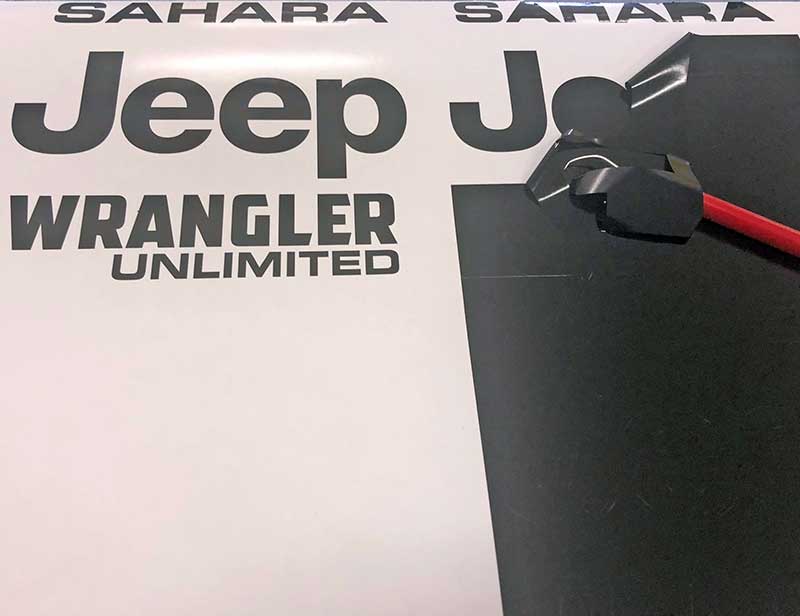
- Create the emboss design using a vector layout that can be cut from any color of vinyl graphics. Gravity Graphics does this by photographing or tracing an emblem.
- Cut the vinyl and weed the excess. The thicker the vinyl, the more dimension the emboss will show. For this project, David used ORAFOL’s ORACAL 751C High Performance Cast vinyl for the underlay.
- Apply the cut vinyl to the desired location.
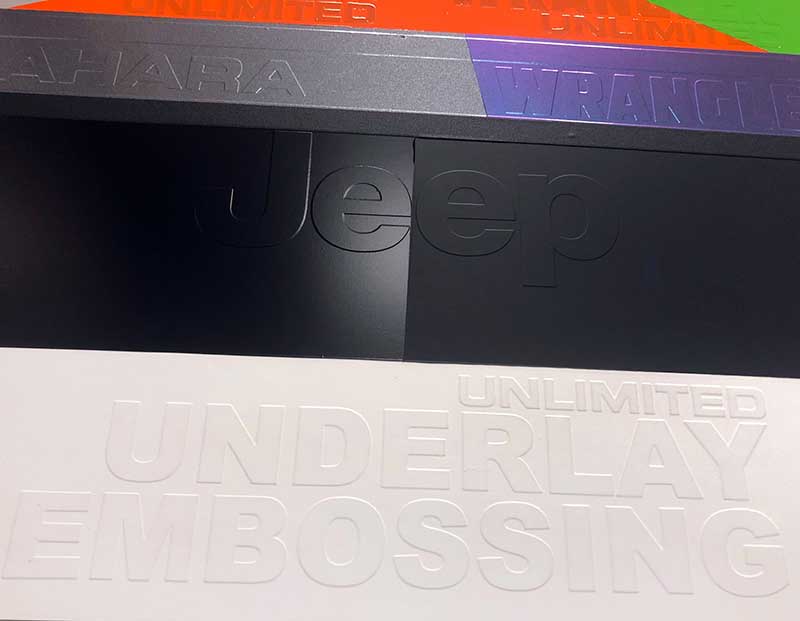
- Wrap over the top of the cut-vinyl design with the final product. Air regress vinyl is preferred, because it allows the release of air buildup around the plotter-cut graphic during the heating process. Gravity Graphics chose Avery Dennison SW900 Supreme Wrap Film in matte white for this color change.
- Use a wrap glove or Rollepro and gently heat the overlaid graphics. Then form them around the underlaid graphic.
- Post-heat the overlay to help remove the memory of the film and lock in the embossing. “This keeps the underlay edges crisp and intact,” David said. Be careful not to overheat, he warned, especially if the top layer is a satin or matte finish, as these are susceptible to hot spots.
And this technique isn’t just for badges and emblems. David’s first emboss took his best friend’s signature, which he traced and ultimately placed in a subtle location on his buddy’s vehicle to create a “signature-series” wrap. The options are endless.
“Embossed underlays can be a fun puzzler to add to your projects, as clients often [ask] how you did it,” David said. Don’t worry; we won’t tell.
AdvertisementPHOTO GALLERY (3 IMAGES)

Introducing the Sign Industry Podcast
The Sign Industry Podcast is a platform for every sign person out there — from the old-timers who bent neon and hand-lettered boats to those venturing into new technologies — we want to get their stories out for everyone to hear. Come join us and listen to stories, learn tricks or techniques, and get insights of what’s to come. We are the world’s second oldest profession. The folks who started the world’s oldest profession needed a sign.


INX Promotes Three to Vice President

6 Sports Venue Signs Deserving a Standing Ovation

Hiring Practices and Roles for Women in Sign Companies


Bulletins
Get the most important news and business ideas from Signs of the Times magazine's news bulletin.
-

 Tip Sheet3 days ago
Always Brand Yourself and Wear Fewer Hats — Two of April’s Sign Tips
-

 Business Management2 weeks ago
When Should Sign Companies Hire Salespeople or Fire Customers?
-

 Women in Signs2 weeks ago
2024 Women in Signs Award Winners Excel in Diverse Roles
-

 Real Deal4 days ago
A Woman Sign Company Owner Confronts a Sexist Wholesaler
-

 Editor's Note1 week ago
Why We Still Need the Women in Signs Award
-
 Benchmarks16 hours ago
6 Sports Venue Signs Deserving a Standing Ovation
-

 Line Time2 weeks ago
One Less Thing to Do for Sign Customers
-
 Product Buying + Technology1 week ago
ADA Signs and More Uses for Engraving Machines