Best Practices
Coordinating High-Volume Installations
An essential checklist to ensure a sign project’s final phase goes smoothly.

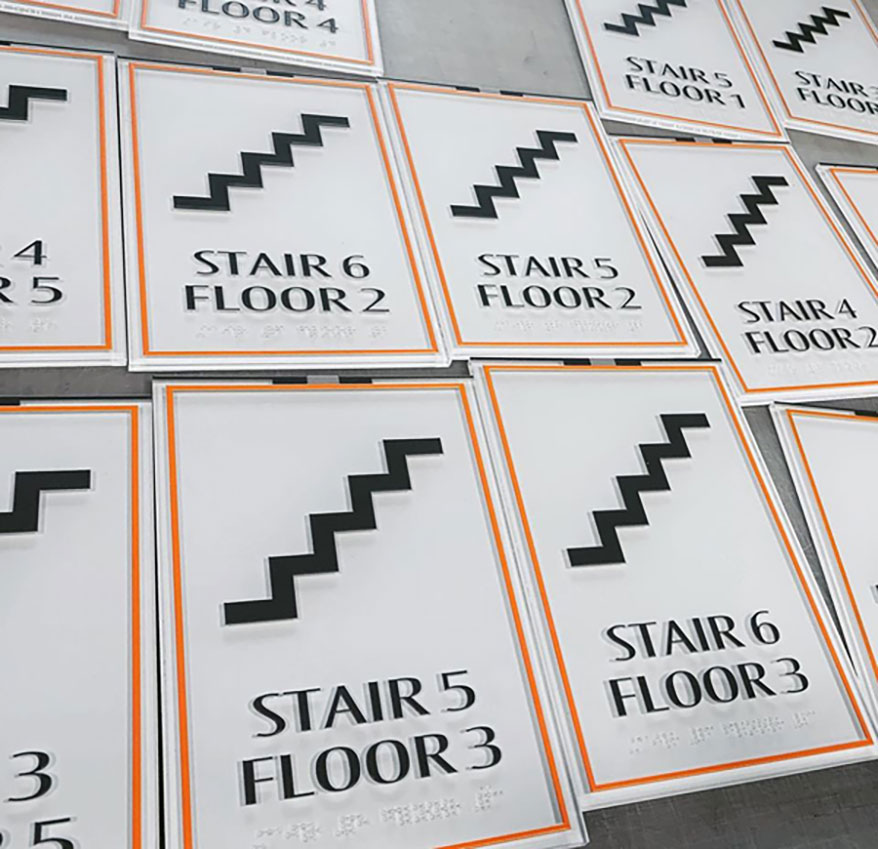
WE’VE BUILT MUCH of our business model on large-volume room-sign packages for apartments and healthcare complexes. More often than not, we are shipping signage to an out-of-town vendor for final installation. We’ve learned some tough lessons about planning, packaging and communicating with installation vendors that now save us a lot of money in return trips, wall repairs and errors.
Here are some key steps we use at Signarama Downtown (Louisville, KY) that can help you avoid project pitfalls, and safeguard against stress on the project manager.
PLANNING AND TAKE OFF
Ask your client for floor plans of the building in a digital format. If your client has none, you will want to build rudimentary plans to work from. I suggest that you charge your client for this effort. We have had luck finding architecture students or interns who can create the plans affordably.
- Print an oversized floor plan so your project manager can review details without too much effort.
- Armed with colored pens or markers, generate the list of needed signs. Below are some examples from the “key” we use to mark the plan easily and legibly.
- RR in a circle = restroom (WR for women, MR for men)
- ST for stairs signs
- Numbers for room-marker signs – 101, 102, 103, etc.
- AM = Amenities signs for a fitness center or kitchen
- UT = Utility signs for electrical, server or elevator equipment
SCHEDULE AND BUDGETING
From that handwritten list, you can produce a spreadsheet with each sign “type” listed and a quantity column next to it. Don’t question the value of investing your time into this spreadsheet – it will come in handy in so many ways.
- Add a column for sizing of each type of sign and a column for notes unique to that sign – maybe a wall surface is smaller or different.
- You can add many columns for sorting and organizing the data. These might include floor level, wing number or the sign’s name, the sign’s color, the attachment method or the sign’s message. We have a budget column for the sign price per unit with automatic calculations based on price and quantity.
Among the things to remember before shipping signs: packaging is cheap compared to replacement signs.
POST PRODUCTION
You’ve won the project, budgeted the project, made the signs and now you are preparing to install – or ship for third-party installation – the entire package of signs.
Advertisement- Use your spreadsheet in production to help them double-check the sign counts and organize the signs into manageable chunks.
- Take time to think through the installation logistics.
- Does the customer care when certain signs are installed? Sometimes the client requires that the customer-centric signs are installed first. Or they may have a phased-construction project that requires accommodating for your timing.
- Talk to the installer about the building’s layout, and plan the packaging based on the installation path through the building.
- Package the signs thoughtfully.
- Remember: Packaging is cheap compared to replacement signs.
- Clearly mark the outside of each box of signs –all sides – with contents and room numbers.
- Overcommunicate in the packaging!
- Every box ought to have identical paperwork with your contact information, who to call on-site, the install site contact and any further instructions.
- Every box should include a list of its contents. Example: “Box 2 of 4, contents rooms 201-240.”
- All installation requirements should be in every box, including install height, drawings of the placements and photo requirements.
- Confirm, confirm, confirm
- We think of our installers like raising teenagers: You can’t repeat details enough – seek responses to confirm they understand your directions.
- Ask for the installer’s name and number.
- Confirm when the boxes will arrive and when the installers are expected on-site.
- If you need photos, remind your installers.
- Change orders
- Be sure you establish who can make changes on site. Just because a maintenance manager tells them to install at 60 in., remind the installers that you are their client and that any changes must come to you for approval.
- If the site isn’t ready, this is on you! Return trips, extra trips and wait times are going to cost you. Be sure your client is as ready as your installer.
- Be thankful.
- Installation is thankless – show appreciation to the teams that come through for you. We’ve shipped snacks or candy in sign boxes as a way of showing thanks. (Pro tip: Use something that doesn’t melt. Mini Tootsie Rolls are perfect!)

When generating a list for needed signs, Signarama Downtown uses a “key” to mark their floor plan.
Introducing the Sign Industry Podcast
The Sign Industry Podcast is a platform for every sign person out there — from the old-timers who bent neon and hand-lettered boats to those venturing into new technologies — we want to get their stories out for everyone to hear. Come join us and listen to stories, learn tricks or techniques, and get insights of what’s to come. We are the world’s second oldest profession. The folks who started the world’s oldest profession needed a sign.


ISA Announces New Tradeshows and Meetings VP

5 Reasons to Sell a Sign Company Plus 6 Options

Sign Products Wrap-Up for April


Bulletins
Get the most important news and business ideas from Signs of the Times magazine's news bulletin.
-

 Tip Sheet1 week ago
Always Brand Yourself and Wear Fewer Hats — Two of April’s Sign Tips
-

 Ask Signs of the Times2 days ago
Why Are Signs from Canva so Overloaded and Similar?
-

 Real Deal1 week ago
A Woman Sign Company Owner Confronts a Sexist Wholesaler
-

 Benchmarks4 days ago
6 Sports Venue Signs Deserving a Standing Ovation
-

 Editor's Note2 weeks ago
Why We Still Need the Women in Signs Award
-

 Women in Signs1 week ago
2024 Women in Signs: Megan Bradley
-

 Product Buying + Technology2 weeks ago
ADA Signs and More Uses for Engraving Machines
-

 Photo Gallery6 days ago
21 Larry Albright Plasma Globes, Crackle Tubes and More