Sign Photography
Spring and summer are the best times to build your sign photo portfolio
Published
9 years agoon
 Courtesy of American Sign Museum
This piece addds to sign-photo advice I offered several years back, with an important addition on neon-sign photography, as well as advice on avoiding legal or security issues. For example, prior to photographing a sign, a signshop owner should ask the sign buyer to authorize the photo for his shop’s advertising or publicity. The most secure method is to have the business owner sign a photographer’s property-release form, which, within reason, will free a signshop from any improper-use complaints or lawsuits. In a case of conflict, the law is all about copyrights and permissions and, expectedly, large corporations are the most exacting. The release should allow the sign company to use the photograph for marketing, including web, brochure, portfolio images or other methods that may enhance its business.
One easy method is to include ”use” clauses within the sales contract. Be sure the form’s intent is clear, however, and that the signer is authorized to approve such uses. Be cautious here, because many larger corporations are understandably nervous when someone is photographing their property. Before you take any photographs, you may want your salesperson to ask their contact to clear a photo shoot with their security people. And, even though editorial use of photography (for, say, use in an ST feature) doesn’t require a property release, you’ll be smart to obtain an okay before you shoot.
I say "woe to the poor sign installer", because this is the person who, after having toiled his sunlight hours either hanging or planting a sign, at day’s end, is charged to shoot photographs of the installed work. Such action seldom produces glamorous results. If the photo is important, choose one of these options (photo advice for true amatuers follows this article):
Option one: If the sign photograph really matters, call a professional photographer.
Option two: If a professional isn’t possible, choose someone that knows photography.
Option three: Find a conscientious, camera-carrier and provide precise instructions.
Sign designers usually shoot good photographs, because they’re creative and have a good eye, plus many have studied the craft. Your troubles begin when an overzealous designer downloads images into photograph-processing software, to add graphic experiments – splashed backgrounds, zombie onlookers or winged skulls. Thus, even though designers dislike rules, when it’s sign photography, a sign-company owner must enforce two rules: The KISS theory and "no zombies."
Photography tips for serious sign shooters
AdvertisementStudy the book that came with the camera, do web research and experiment with any unclear instructions.
Learn photo software. Choose and learn either Corel® PaintShop Photo™ Pro X3; Adobe Photoshop, Photoshop Elements, or Lightroom. Use software to crop photographs and enhance colors. If you’re unfamiliar with photography software, study tutorials, magazine articles and books. Also, seek local workshops.
Study the ambient light. The best light for photography is early morning; the second best is late afternoon. At these times, daylight – and the sign — appear more colorful and pleasing to view. Shoot illuminated-sign photographs at dusk (See ST, September 2009, page 10). If you must shoot at midday, try various angles (and flash, to minimize harsh shadows). A brightly colored sign may show its colors best in direct sunlight. Also, experiment by shooting colorful signs with the camera’s Portrait mode — its algorithm enhances colors, especially reds.
Attempt an angular sidelight when you photograph a dimensional sign, which increases shadowing and the appearance of depth.
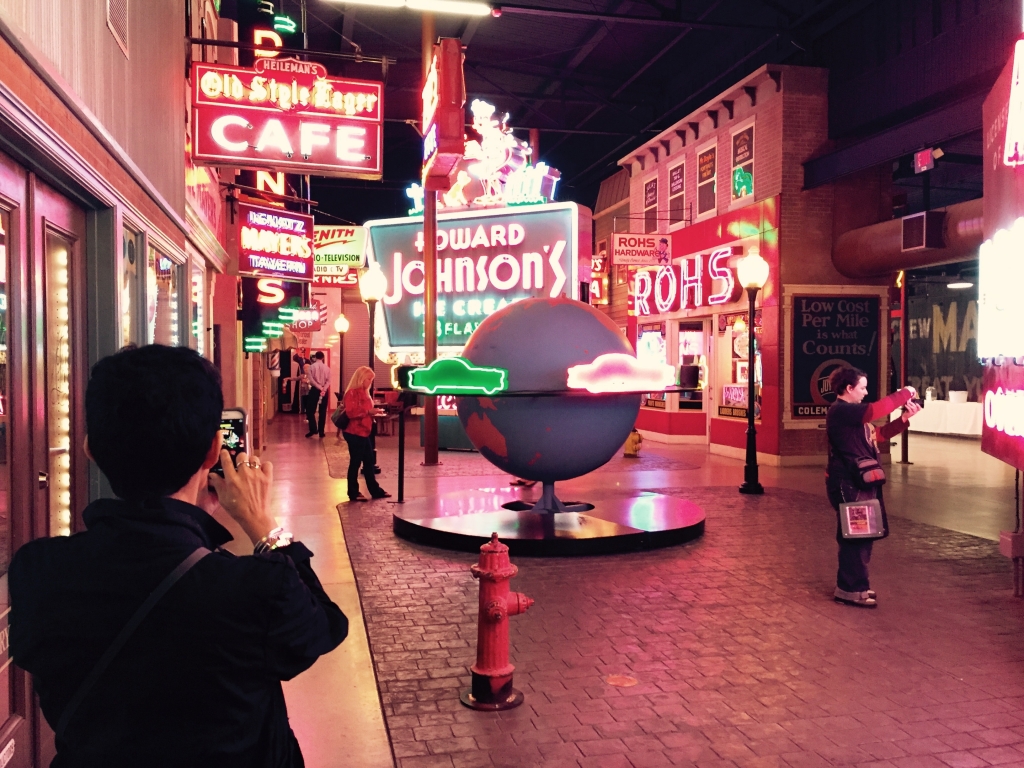
Neon or illuminated signs — Most "point-and-shoot" photographers produce photos of the neon tubes against a too-dark background, so the photo doesn’t show the signface or surrounding environment. This is because the camera meter reads the neon (or other inclusive light) and automatically sets the exposure for that brightness level. The photos show the neon, but not the signface. which is sad, because the true effect of neon is best shown against its colored signface. Get around this by shooting at dusk, so the camera meter picks up the sign face and exposes for it, or, best, by using the flash-fill setting on your camera (see the next paragraph and your camera book), which will illuminate the signface and expose the neon at proper brightness.
In-shop photographs
When shooting in-shop fabrication processes, opt for the Night mode (Canon) or Night Portrait mode (Nikon). Sometimes identified as “slow sync,” this mode exposes the background normally, but also fires the flash, to fill the foreground with light. This process should eliminate the characteristic, dark background you regularly see with neon or indoor flash shots. You may need to stabilize your camera and, also, expect some blurring (which might be cool) if there’s movement. Compare a photograph from this mode to a similar, “Program” shot, to see the difference.
AdvertisementFormat – JPEG or raw? JPEG-format is terrific for non-critical shots, but raw-format files offer much more latitude when you’re working in photograph-processing software. Raw-format files also require more procedures, so explore your software’s batch-process system. It allows you to make multiple improvements on one image and carry those through as many images as you select. Still, JPEG is fine for most uses.
Select a low ISO. An ISO setting adjusts the camera’s sensitivity to light. Lower ISO numbers produce better images because they create the least amount of image grain and artifacts. However, when shooting in low light, don’t hesitate to increase the ISO number – a grainy photograph is better than no photograph.
Shoot high resolution. High-resolution photographs contain more pixels; thus, you’ll get sharper photographs, stronger colors on enlargements, and better detail, if you crop the image (again, see your camera book).
Study the histogram. The on-camera histogram indicates the brightness (or color) levels in your exposure. Some cameras display the histogram image before you shoot. The best exposures will appear as a stand-alone mountain, with some jaggedness and the downslopes ending near the graph edges.
If your shot doesn’t produce the mountain image, choose the camera’s manual mode, to dial up a desirable histogram before you shoot (via f-stop or shutter settings). Experiment, however, and shoot the same photograph in Program mode, to see which you prefer. A modern camera’s automation system can outthink you.
Choose your depth of field. “Depth of field” refers to that part of a photograph that’s in focus. Numerically, a small aperture (f-stop) setting creates a larger lens opening, which shortens the depth of field and tends to blur the background. Oppositely, larger aperture numbers (smaller lens opening) bring more into focus. Many modern photographer shoot in "aperature" ("A") mode, which allows you to set the lens opening while the camera chooses the shutter speed.
AdvertisementIf possible, add a model (person). On large signs, adding a model (an attractive friend, for example) also adds interest and scale. Skip over trendy clothing and unorthodox poses because you don’t know who will be viewing the photograph. An intuitive pose is best; that is, have the model stand offside and read the sign.
And, ask the model to sign a model release beforehand. Because the release is a contract, pay your model one dollar, at least, to complete the exchange. To obtain standard model and property-release forms, visit www.gettyimages.com/contributors
Basic Sign Photography Guide
1. Clean up. Remove all tools, trash, pop cans, buckets, people and debris from the scene.
2. Set the camera. Set the camera dial on the green “Program” icon (automatic).
3. Get closer. Before you shoot, take a step closer, maybe two.
4. Hold firm. Brace yourself before you shoot (triceps against chest).
5. Take two. Take two photographs for every view you select.
6. Sunlight. Try to have the sun behind you.
7. Start back, move closer. Shoot your first photographs from a distance, then move up for a medium closeup and, finally, get close.
8. Take a walk. Walk around the sign, to photograph it from several angles.
9. Details. Photograph any interesting details.
10. Record problems. Photograph anything that may cause a problem later, to show your boss when you return to the shop.
SPONSORED VIDEO
Introducing the Sign Industry Podcast
The Sign Industry Podcast is a platform for every sign person out there — from the old-timers who bent neon and hand-lettered boats to those venturing into new technologies — we want to get their stories out for everyone to hear. Come join us and listen to stories, learn tricks or techniques, and get insights of what’s to come. We are the world’s second oldest profession. The folks who started the world’s oldest profession needed a sign.
You may like

INX Promotes Three to Vice President

6 Sports Venue Signs Deserving a Standing Ovation

Hiring Practices and Roles for Women in Sign Companies
Subscribe

Bulletins
Get the most important news and business ideas from Signs of the Times magazine's news bulletin.
Most Popular
-

 Tip Sheet4 days ago
Always Brand Yourself and Wear Fewer Hats — Two of April’s Sign Tips
-

 Business Management2 weeks ago
When Should Sign Companies Hire Salespeople or Fire Customers?
-

 Women in Signs2 weeks ago
2024 Women in Signs Award Winners Excel in Diverse Roles
-

 Real Deal5 days ago
A Woman Sign Company Owner Confronts a Sexist Wholesaler
-

 Benchmarks20 hours ago
6 Sports Venue Signs Deserving a Standing Ovation
-

 Editor's Note1 week ago
Why We Still Need the Women in Signs Award
-

 Line Time2 weeks ago
One Less Thing to Do for Sign Customers
-

 Product Buying + Technology1 week ago
ADA Signs and More Uses for Engraving Machines


