Best Practices
Vinyl Installation Tools
The right gadgets can make the job so much simpler.
ONE WORD DESCRIBES the most common signage we see around our cities and towns: vinyl. If you are a general signmaker and not a specialist, then most of your work likely revolves around some type of vinyl signs. Advances in printing and software make the design and production of vinyl signage easier and faster every year. This is all well and good, but it still takes a lot of effort to take those pieces and actually install them as signage.
Not too long ago, the major installation tools were pretty basic: transfer tape, squeegee, Stabilo pencil, ruler and craft knife. Installation could sometimes take hours, and certain jobs, like textured or riveted surfaces, were extremely difficult. Fortunately for the contemporary signmaker, new specialty vinyls make these jobs simpler. And with some of the new tools available on the market, installation is taking less time than ever. Let’s look at how some of these tools can help speed things up.
Faster and Easier
After a design has been cut, the waste vinyl is weeded from the design. Transfer tape is then applied to the top of the weeded sheet so that it can be applied to the final surface. Applying the tape can be a real pain, especially if you are working with large designs. A great solution is to use a roller-based tape applicator. These machines come in various sizes that can accommodate widths up to 24 in. They keep the tape straight and enable one person to tape long panels.
So now you have nice, taped vinyl. Application techniques depend upon the surface. If you are replacing existing vinyl, then it must be removed. The simple solution is a hard, plastic handheld tool called a chipper. While they are effective for smaller jobs, they may take a while, and they leave a glue residue on the surface. Removal fluids can be applied to the vinyl and then, after allowing the graphic to “soak” for 10 or 15 minutes, the vinyl should be easy to peel off. For larger jobs, vinyl eraser wheels and even purpose-built machines can be used to quickly remove existing graphics.
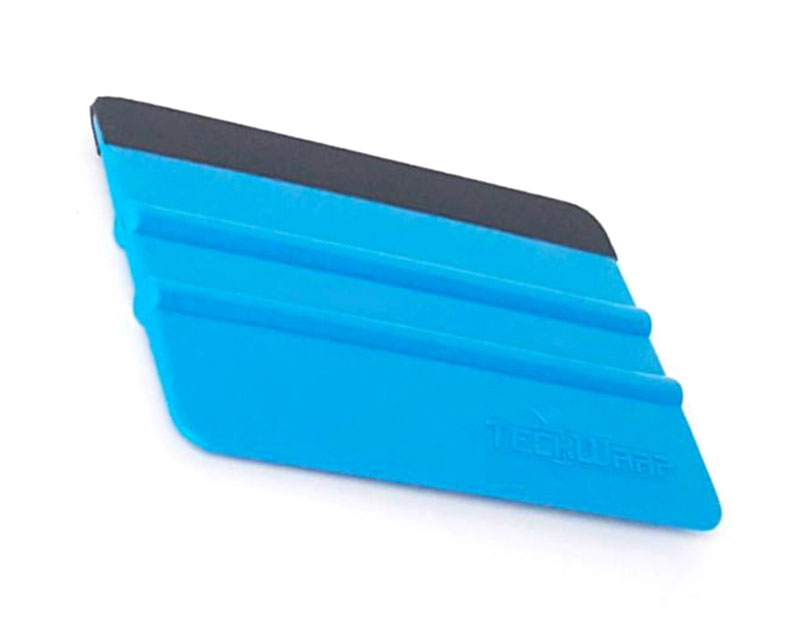
When applying vinyl to the final substrate, the go-to tool for most signmakers is the squeegee. This simple-looking piece of plastic is used to smooth out bubbles and allow enough pressure to be applied to activate the adhesive. Gold, nylon squeegees are considered the standard and hold up for a long time. For large signs, an installer might use a roller or brayer because either can cover a wider area, and be less stressful on wrists and hands.
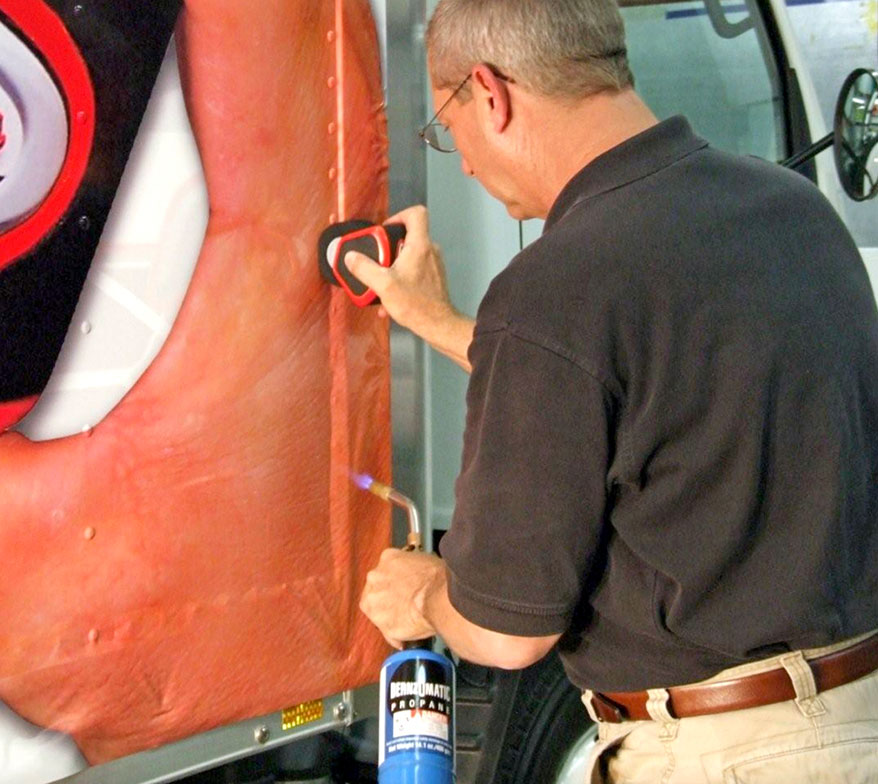
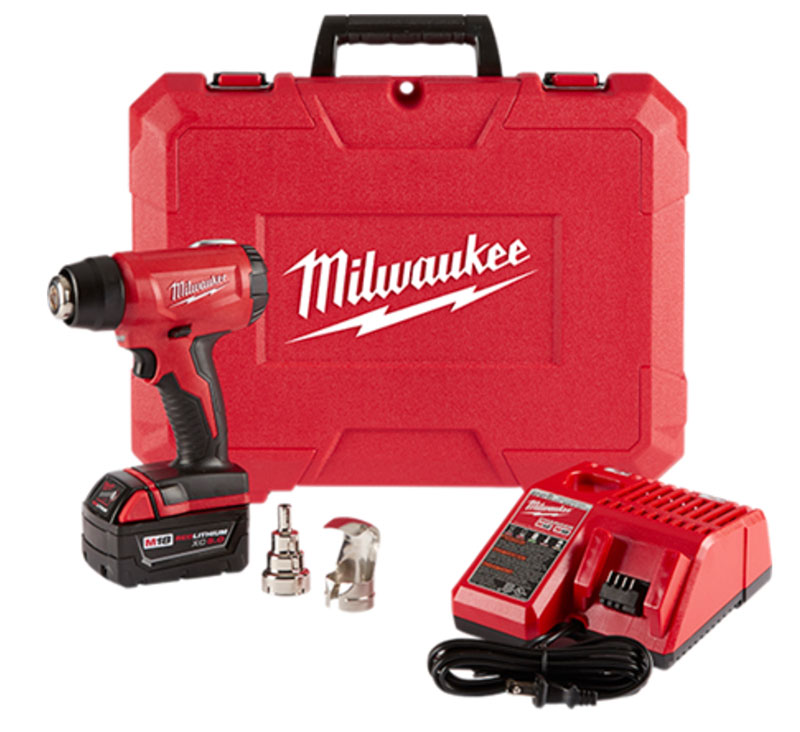
If you are working with challenging surfaces, a number of options abound. Soft rubber or felt-edged squeegees can make it much easier to work in tight spaces. The felt and Teflon squeegees are also perfect for working with vinyl that has no application tape, as they will not scratch the graphic. For riveted surfaces, a rivet brush is a great choice to tap around the raised surface. Finally, to make vinyl even easier to work with, a heat gun can soften and help to stretch vinyl to accommodate complex shapes and textures.
AdvertisementWhy kill yourself or your crew? There are ample time- and labor-saving tools that can make installing vinyl easy. Look at the “pain” points in your shop and see if any of these tools can help.
PHOTO GALLERY ( 6 IMAGES)


Introducing the Sign Industry Podcast
The Sign Industry Podcast is a platform for every sign person out there — from the old-timers who bent neon and hand-lettered boats to those venturing into new technologies — we want to get their stories out for everyone to hear. Come join us and listen to stories, learn tricks or techniques, and get insights of what’s to come. We are the world’s second oldest profession. The folks who started the world’s oldest profession needed a sign.


Magazine
Get the most important news
and business ideas from Signsofthetimes Magazine.
-

 Business Management1 week ago
When Should Sign Companies Hire Salespeople or Fire Customers?
-

 Women in Signs1 week ago
2024 Women in Signs Award Winners Excel in Diverse Roles
-

 True Tales2 weeks ago
Sign Company Asked to Train Outside Installers
-

 Editor's Note5 days ago
Why We Still Need the Women in Signs Award
-

 Maggie Harlow2 weeks ago
The Surprising Value Complaints Bring to Your Sign Company
-

 Line Time1 week ago
One Less Thing to Do for Sign Customers
-
 Product Buying + Technology7 days ago
ADA Signs and More Uses for Engraving Machines
-
 News2 weeks ago
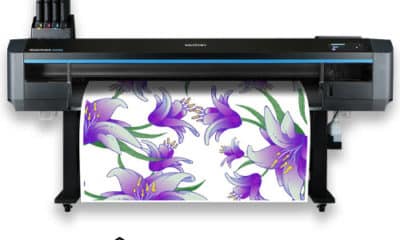
MUTOH Partners With Wasatch for RIP Software Package