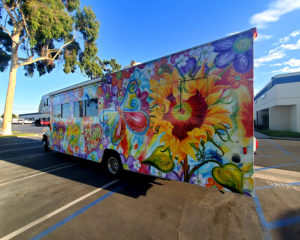
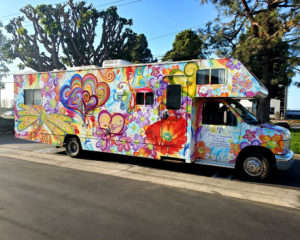
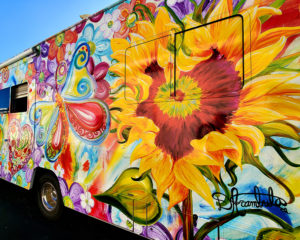
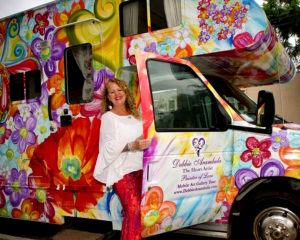
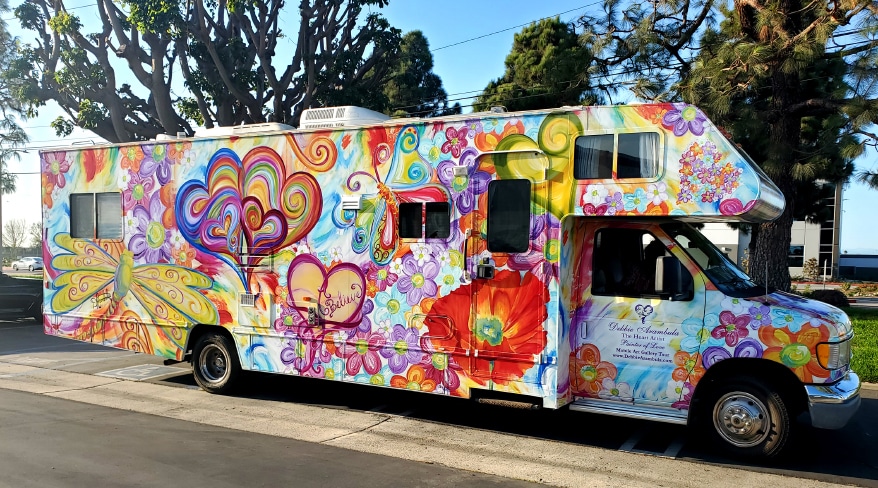
LIKE TRAVEL, art can be as much about the journey as the destination. Such was the case for Northern California-based painter Debbie Arambula, who was researching RV wraps when she came across a psychedelic work Surf City Graphics had completed for a UK cannabis documentary. After seeing the vibrant, flower-powered design, Arambula, “The Heart Artist,” reached out to the Huntington Beach, CA shop with a request to wrap her mobile gallery in advance of a cross-country tour. The first-time client drove her 2000 Itasca Spirit RV 31T around seven hours from San Francisco to Surf City for the project. Arambula collaborated with graphic designer Madison Buckley, presenting an array of high-res images of her original artwork for the team to select together. “There were certain art pieces that she really wanted to showcase and so we worked one on one (either via Facetime, phone, email or in person) to play around with the many colors, shapes and sizes to start pulling everything together,” says Surf City Co-Founder and Art Director Michael Dmytrow.
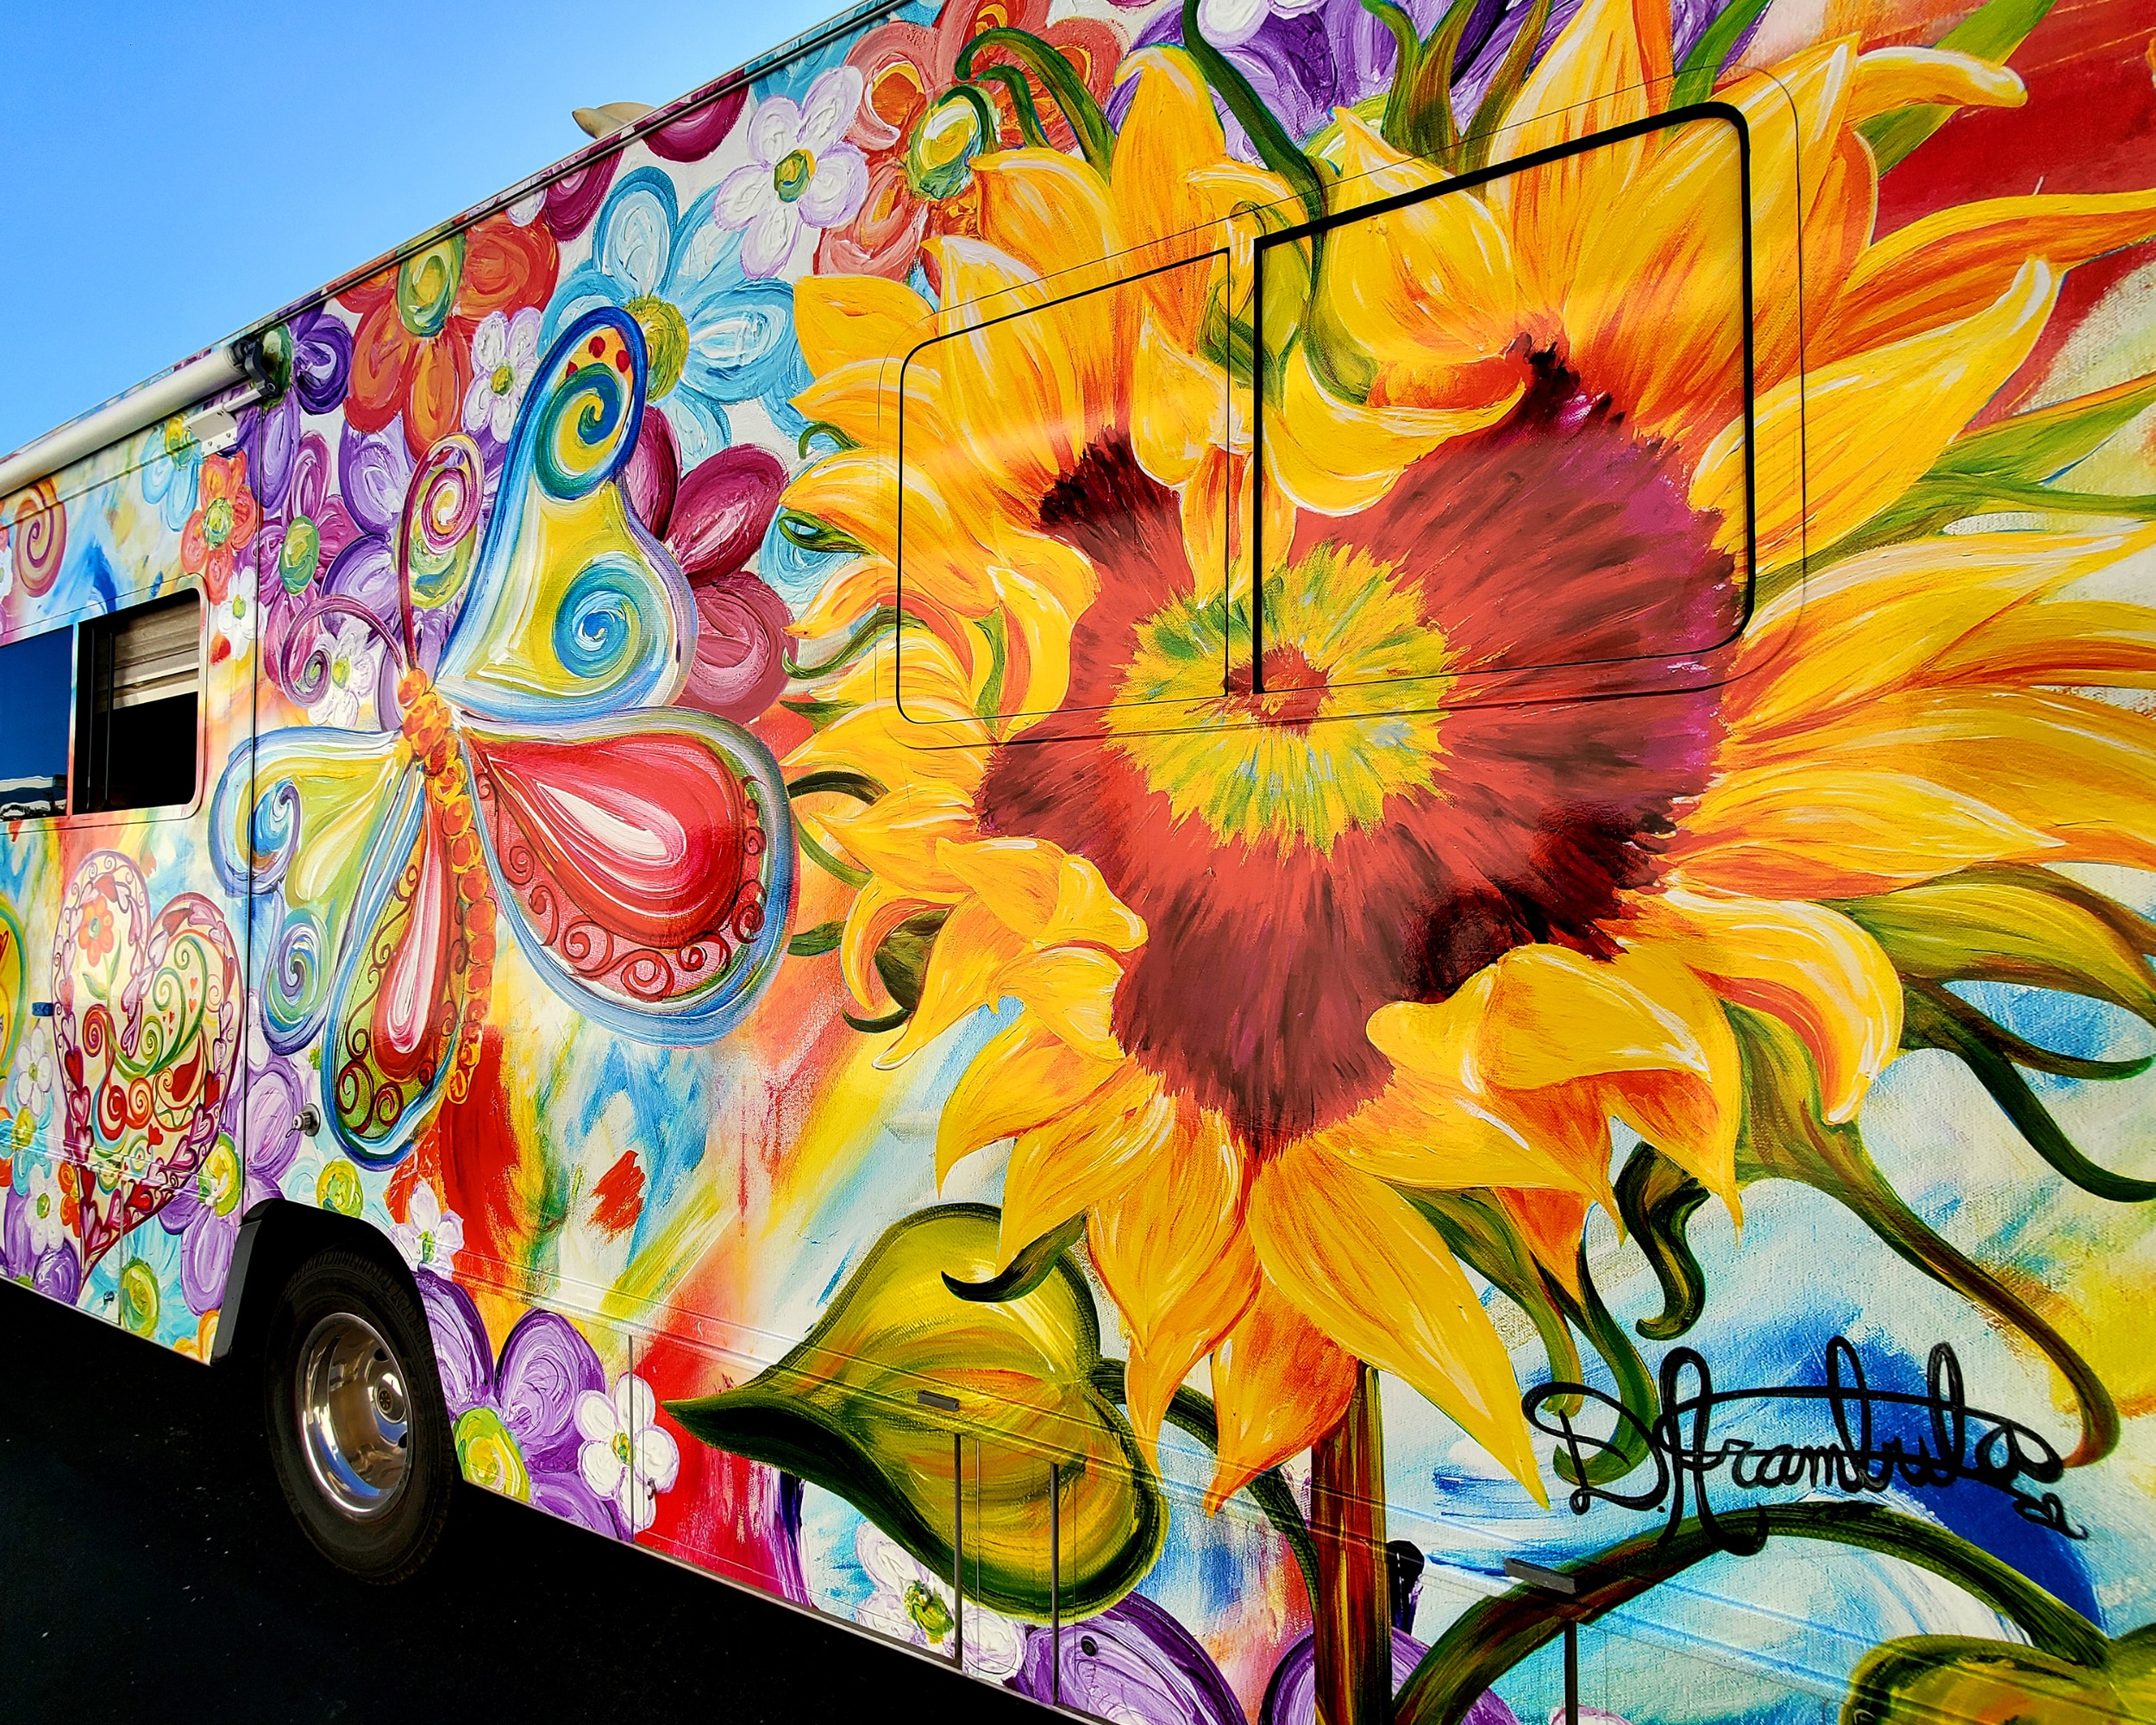
“Most of the main art pieces were removed from their backgrounds to create more of the collage look, while other art pieces were from the backgrounds themselves,” he adds. The shop had to take many areas of placement into consideration to avoid windows, certain seams or vents, as well as to ensure a visual flow throughout the RV.
After two to three weeks of back and forth creating mock-ups and revisions in Adobe Photoshop and Illustrator, Surf City began the two-day fabrication job — imaging the final design on 3M IJ180Cv3 graphic film with 8518 UV gloss lamination using the shop’s HP Latex 315 54-in. printer, then cutting it with a Summa SummaCut S Class 160 T-Series. For projects like this, Dmytrow recommends leaving an additional two to three inches of material around the edges when cutting the vinyl wrap to size to allow for trimming.
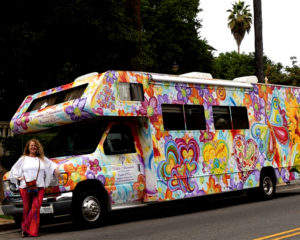
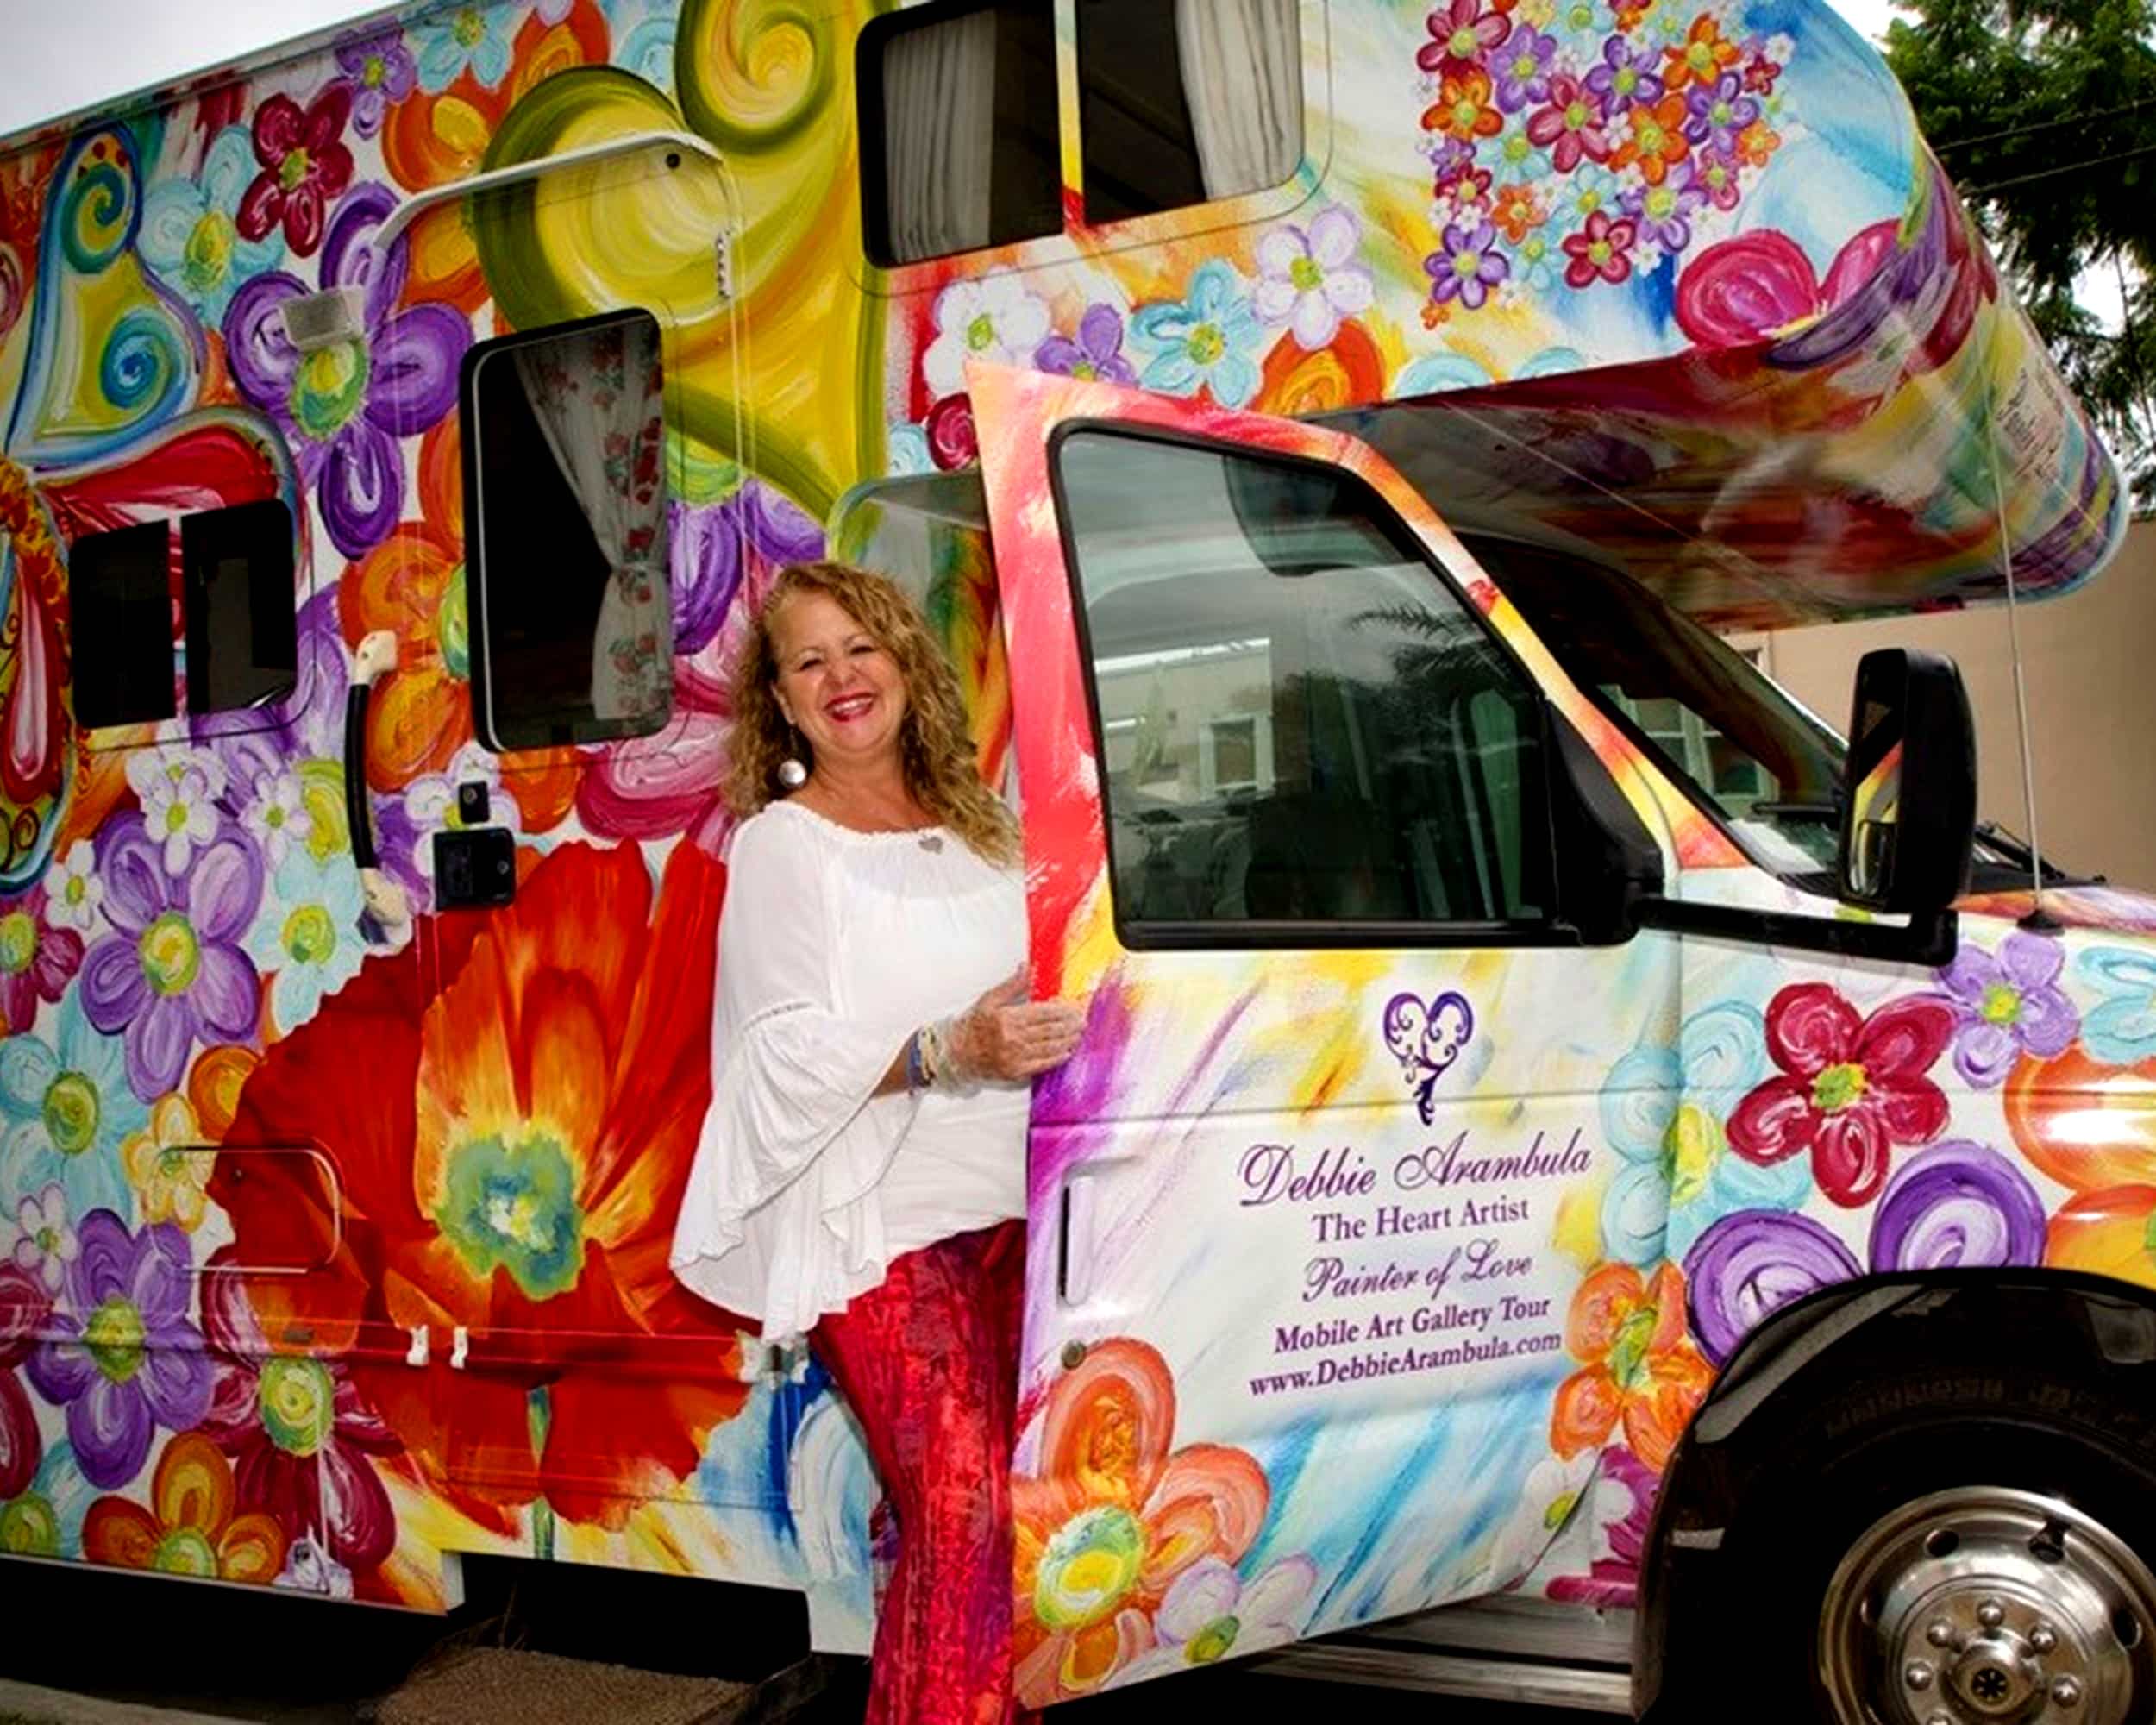 “The Heart Artist” Debbie Arambula drove her 2000 Itasca Spirit RV 31T around seven hours from San Francisco to Huntington Beach, CA for the wrap.
Following thorough cleaning with soap and water, drying the surface with a microfiber cloth, extensive vehicle prep, removing accessories, and masking off any necessary areas with 3M’s Design Line Knifeless Tape — which Dmytrow stresses as critical steps of any wrap project — it was time to start the install.
Advertisement
“It’s important to have the right tools and techniques to ensure a successful installation,” he says. Here are the basic steps his team used to wrap this RV:
- Apply the vinyl: Starting at the center of the vehicle, apply the wrap to the surface, being careful not to stretch or wrinkle the material. Use a squeegee to smooth out any air bubbles and ensure that the vinyl adheres to the surface.
- Trim the edges: Once the vinyl is in place, use a sharp knife (OLFA blades) to trim the excess from the edges of the vehicle. Be sure to leave a small overlap for full coverage.
- Heat the vinyl: Use a heat gun or torch to heat the wrap, which will make it more pliable and help it conform to the contours of the RV.
- Finish the installation: After the vinyl is in place, use a squeegee to smooth any remaining air bubbles and make sure the vinyl is fully adhered to the surface. Then trim any excess material from the edges of the vehicle.
Though the installation was a three-day process, Dmytrow says the most challenging aspect of this project lay in the design. “[The] client was extremely particular on placement and colors of this wrap,” he recalls. “Other than cleaning and prep, the actual wrap installation was a breeze.”
PHOTO GALLERY (5 IMAGES)
Advertisement

 Tip Sheet2 weeks ago
 Photo Gallery3 days ago
 Ask Signs of the Times5 days ago
 Real Deal2 weeks ago
 Paula Fargo23 hours ago
 Benchmarks1 week ago
 Photo Gallery23 hours ago
 Women in Signs2 weeks ago

 “The Heart Artist” Debbie Arambula drove her 2000 Itasca Spirit RV 31T around seven hours from San Francisco to Huntington Beach, CA for the wrap.