Wrapping vehicles requires a combination of mental and physical abilities, which are best and most quickly gained by taking a wrap training class. The advice and hands-on practice with an experienced installer will help you develop good decision-making and physical skills in this very manual, tactile profession. Professionals also strongly recommend that installers take some time at the start of every job to plan the installation process. Too often, less experienced installers jump right in and start wrapping without first having a plan. This may cause mistakes costing both time and material. Make sure to have a plan!
WRAP TOOLS
Cleaning supplies that include wax, bug and tar remover are necessary to ensure the vehicle is completely clean and free of anything that could interfere with the adherence of the wrap film. This includes washing the tires to make sure no silicone substance comes into contact with the wrap. You’ll also need isopropyl alcohol and a lint-free cloth for the final clean.
Application gloves, rollers and squeegees allow you to handle the graphic without transferring dirty fingerprints, and also to position and press down the wrap. You can also handle heated vinyl. Rollers and squeegees speed the process of pressing and smoothing the film in place. At times, gloves work better as they fit in tight areas and allow for variable finger pressure.
Magnets and tape help hold the film in position. You can slide a graphic under magnets without pulling tape free. If a graphic isn’t being applied to metal, then tape works. Heat guns and other heating sources are important to warm a vehicle or soften and stretch the film to help mold it in place, especially on irregular surfaces. Finally, knives or blades trim the excess amounts of graphic once it’s in place.
PLAN THE ATTACK
Ask your customer to drop off a clean vehicle the night before you begin. Request that they not apply wax or any specialized cleaning products. In the event your customer can’t deliver a clean vehicle, run it through a car wash to remove the heavy dirt.
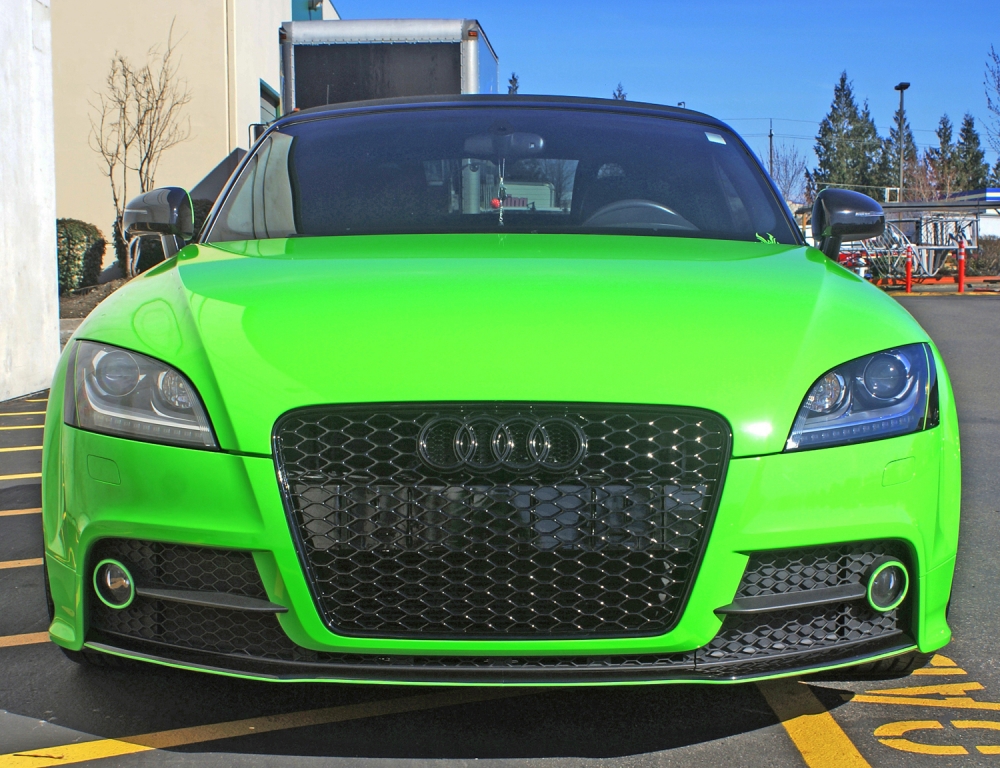
Next, take a few minutes to walk around and study the vehicle. Ask yourself a few questions, such as, “What should I do about the mirrors and door handles?” These stand out from the vehicle and, if left in place, can make an install much more difficult. If they can be removed easily, take them off. Spending 15-20 minutes removing them first will save you more than that in future time – and aggravation. Also, removing them helps the wrap look much cleaner.
Advertisement
Use this time to identify all of the areas that will be difficult to apply the vinyl: bumpers with large protrusions or deep recesses, back quarter panels, or headlights and taillights that are difficult to work around. You may decide that removing the head- and taillights will also help you improve your speed and overall quality. If you are doing a full-color change wrap, removing the bumpers is another consideration. However, be cautious when disassembling a vehicle and make sure you or someone you work with can properly reassemble it.
“DRY FIT” AND FINAL CLEAN
Before peeling the liner and starting to stick down the graphics, fit the panels into place using magnets or tape. This important step will confirm you have all of the panels for the wrap and that they are the correct size. You don’t want to discover you made a piece the wrong size after you’ve begun your install. In the event something isn’t quite right, you’ll be able to modify your plan.
At this point, the vehicle should already be relatively clean. All of the road grime, bugs and tar should already be removed from the vehicle. This final step is intended to remove any remaining dust, wax or contaminants that might prevent the film from sticking to the vehicle. Avery Dennison Surface Cleaner is one option for removing these, and the final clean should be completed using isopropyl alcohol and a lint-free cloth. Be sure to wrap the cloth around your squeegee and clean the recessed areas and gaps between bodylines.
The “only” thing left to do is apply the wrap, which we’ll delve into next month!


 Tip Sheet1 week ago
 Photo Gallery3 days ago
 Ask Signs of the Times5 days ago
 Real Deal2 weeks ago
 Benchmarks1 week ago
 Photo Gallery5 hours ago
 Women in Signs2 weeks ago
 Women in Signs1 week ago


