Digital Printing
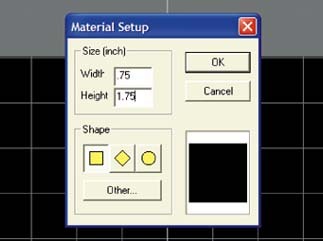
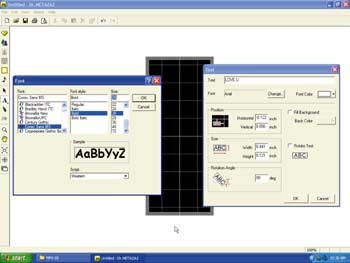
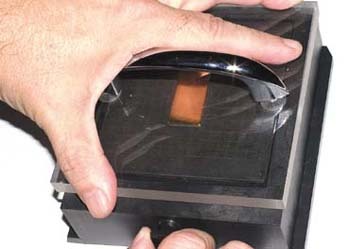
Roland’s METAZA MPX-60 Photo-Impact Printer
Imprints photos and text onto metals and acrylics


Introducing the Sign Industry Podcast
The Sign Industry Podcast is a platform for every sign person out there — from the old-timers who bent neon and hand-lettered boats to those venturing into new technologies — we want to get their stories out for everyone to hear. Come join us and listen to stories, learn tricks or techniques, and get insights of what’s to come. We are the world’s second oldest profession. The folks who started the world’s oldest profession needed a sign.


Magazine
Get the most important news
and business ideas from Signsofthetimes Magazine.
-

 News4 days ago
Woman Found Living Inside Supermarket Sign
-
 Projects2 weeks ago
4 of the Most Fun Sign Projects in Years
-

 News2 weeks ago
2024 Sign Contest Open for Submission
-

 How To1 week ago
Making the Grade with ADA Signs
-

 Real Deal4 days ago
A Family Sign Company Foists Their Youngest Upon the Business
-

 Editor's Note5 days ago
The Joy of Working
-

 Photo Gallery2 days ago
17 Sneak Peeks at the American Sign Museum Main Street Expansion
-

 Product Buying + Technology6 days ago
Eco-Solvent Printers: Workhorses of a Signshop’s Stable