Rob Ivers owns Rob Ivers Inc. (Raymore, MO), a vehicle-graphics and installation company. He’s installed vinyl since 1978 and taught vinyl-graphics installation since 1993. For more information, visit www.robivers.com
I installed my first vinyl graphics in 1978. Back then, I remember vinyl manufacturers instructing me not to stretch the vinyl. Vinyl has memory, they explained. After being stretched, it tends to gradually return to its original, unstretched shape. The vinyl pulls away from the surface, which causes failure.
They also said it was impossible to conform a flat vinyl graphic to a complex curve without stretching. So, they also instructed me to never apply vinyl to complex curves. They got no argument from me. Applying vinyl over those shapes led to wrinkles, stress and even migraines. I was happy to have a legitimate excuse to avoid them.
New rules
Fast forward to 1993, when vehicle wraps hit the market. From an installation standpoint, wraps differ from other vinyl-graphic applications because they require installation over complex curves. To quote a former Dodge truck slogan, the rules have changed.
Suddenly, it was OK to apply vinyl to complex curves. I didn’t quite know how to handle the sudden “policy” change. I knew for sure vinyl still had memory and would probably fail if I stretched it. No big deal — if they insisted I stretch vinyl over complex curves, surely they wouldn’t hold me responsible for any failures.
Advertisement
Riiiight. This brings us to the present and my opportunity to share tips and tricks I’ve learned in the past 16 years of wrapping vehicles.
Vinyl-graphic films have certainly evolved. Such key improvements as repositionability and air egress have made installation easier. But vinyl still has memory. Have you ever seen a wrap with vinyl peeling? Or, worked really hard on a job, only to have the film lift?
If so, you’re not alone. Here’s what I’ve learned: You need a well-defined strategy that allows you to assess each situation and develop a plan. Mine is very simple: I know stretching vinyl can lead to problems, and I know I have to stretch the vinyl for complex curves. So, my strategy involves stretching the vinyl the absolute minimum amount required to conform it to the shape.
To the limit
It’s also important to understand vinyl possesses certain limits;, some shapes are simply too radical for its application. On the other hand, your strategy and technique can often make the difference between a successful wrap and one that lifts from the surface. To successfully implement my strategy, I rely on patience, technique, and experience.
Have the patience to analyze each situation and develop a plan. Remember such points as how to position the graphic for proper alignment and where to begin squeegeeing, among others. Complex, contoured surfaces eliminate the possibility of one perfect technique that works for everything.
Advertisement
I use several techniques that match the shape I’m working on and my plan for a particular job. Proper technique and execution can help you conform vinyl to shapes better than your competitors. Experience helps you select the right technique, perfect all of them, and recognize which projects not to attempt.
Cases in point
For simple curves, such as the main, side-panel indentations on a Ford E-Series van, always work the vinyl into the indentation in a relaxed manner — without stretching. Full-size Chevrolet vans have window-shaped indenta¬tions. The rounded corners offer complex curves, whereas the long, straight areas between the corners comprise simple curves.
To apply vinyl over such surfaces, squeegee the flat area inside the indentations first. Stop at the grooves, and then lift the vinyl on one edge at a time and squeegee the vinyl into and out of each groove with no stretching. Only squeegee the straight portions between the rounded corners; leave the corners until the end.
Once you’ve installed the straight areas of all four sides, carefully squeegee each corner into the deepest part first. Then, squeegee the far side of the indentation. You should be able to do this easily without stretching. You’ll be left with a mildly puckered area in each corner. Hold or tack the unsqueegeed vinyl low and flat against the surface.
Warm the corners slightly with a propane torch to relax the vinyl, then let it cool back to room temperature. Start your squeegee in the center of each corner. Keep your squeegee low and flat, and push the vinyl in each direction. Distribute the remaining excess across a wide area. After just a few strokes, the vinyl will smooth out, and you can squeegee normally.
Advertisement
This is just one real-world example of how I approach complex curves. Most installers would work it into the grooves without stretching if they’re only horizontal or only vertical. Because the grooves move in both directions, they give up. They squeegee the whole area as if it were flat and ignore the indentations. Next, they stretch the vinyl into every inch of all four sides of the indentation – this is why most vinyl graphics applied to Chevrolet vans suffer lifting and failure in that area. My strategy and technique reduce the amount of stretching to the absolute minimum with almost no chance of lifting.

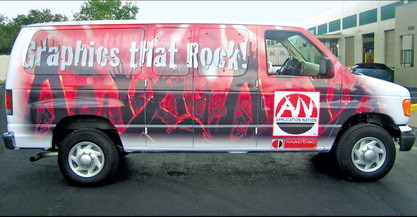
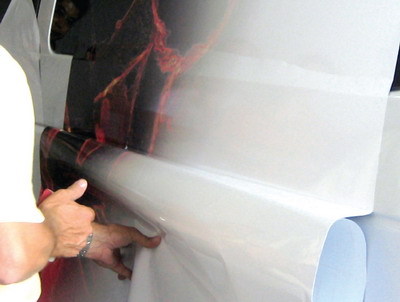
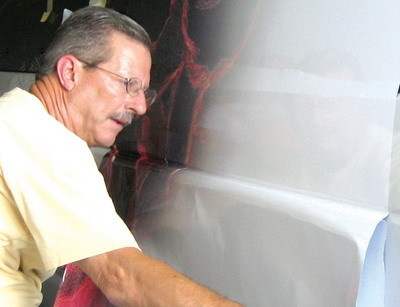
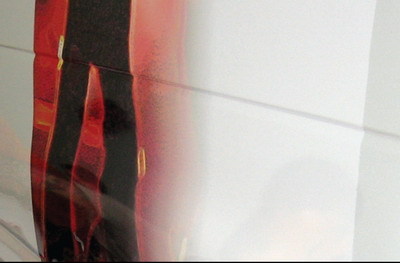


 Photo Gallery2 weeks ago
 Paula Fargo1 week ago
 Real Deal1 week ago
 Photo Gallery1 week ago
 Projects1 week ago
 Women in Signs2 weeks ago
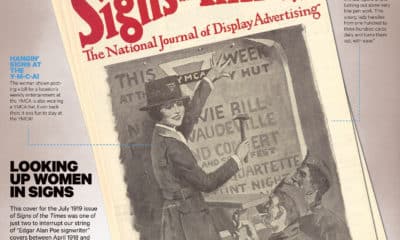
 Signs of the Times2 weeks ago
 Business Management6 days ago